
Chapter 5
Orthographic Projection
|

|
|
|
3D object |

|
Project the object to the 3 Orthographic Planes
|

|
Unfold the planes so that the object is represented in 2D
|
How to draw an Orthographic Projection
|
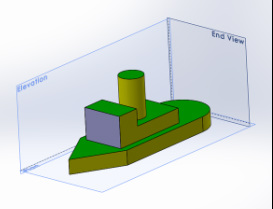
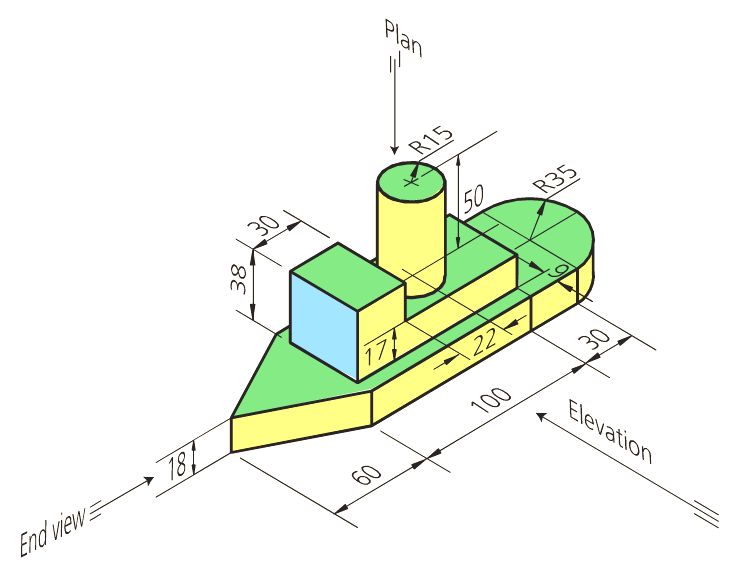
1. You will usually be given a 3D view of the object with dimensions
|
2. Draw a box for each view (elevation, plan and end view) using the dimensions in the diagram. You can set the gap between the views as 20mm unless told otherwise. 45 degree lines are used to connect the plan and end view
(Colours are not necessary) 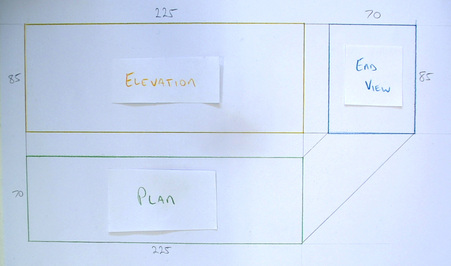
|
|
3. Draw a grid of construction lines using the main dimensions in the question. You can project lines from one view to another, ie across from the elevation to the end view. The elevation is shown below to help explain how the construction lines are used.
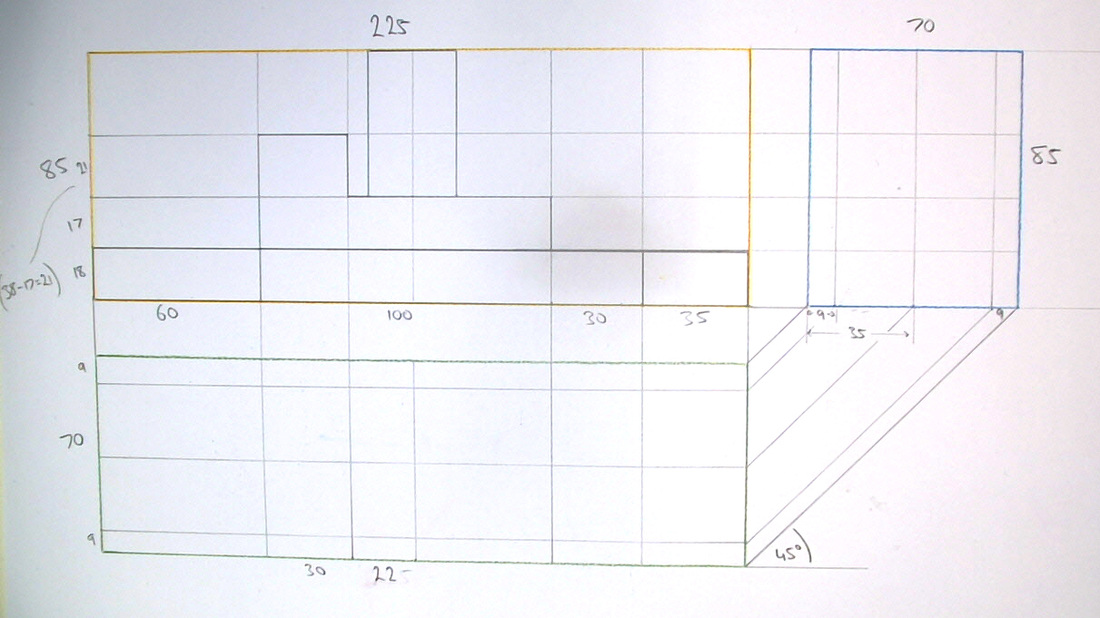
|
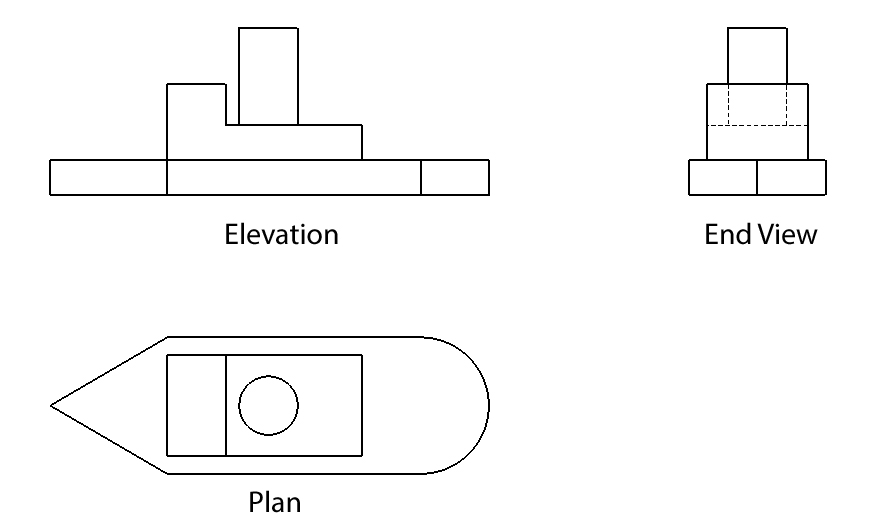
4. Complete the plan and end view. Don't forget to include the hidden lines in the end view.
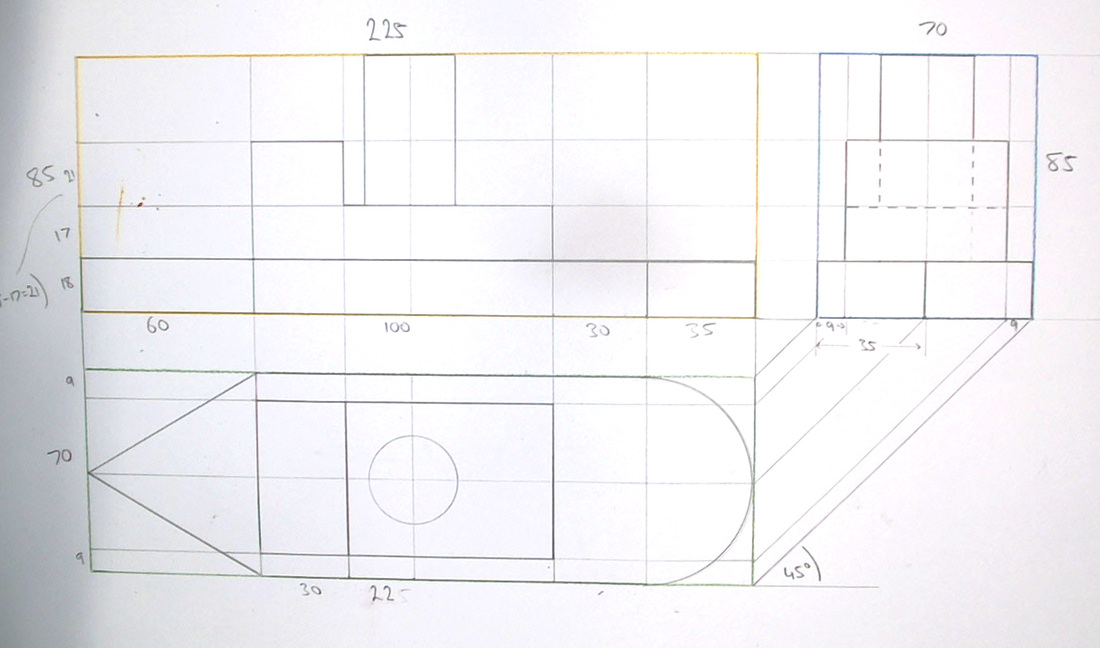
|
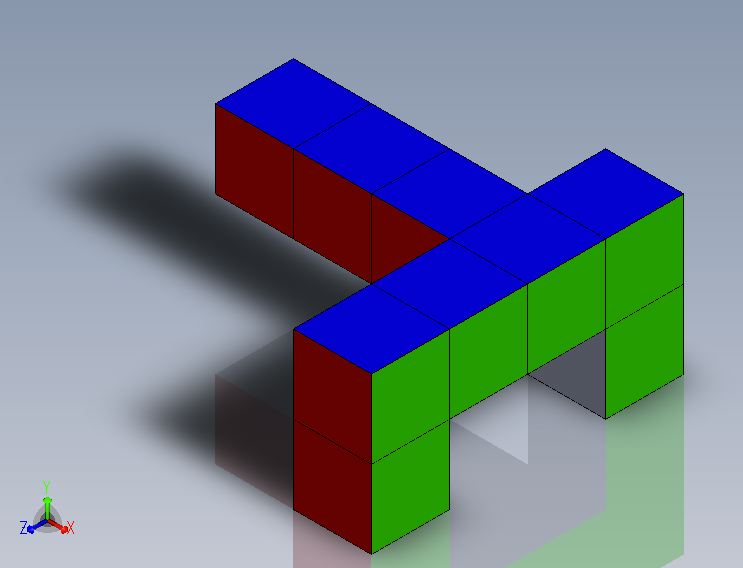
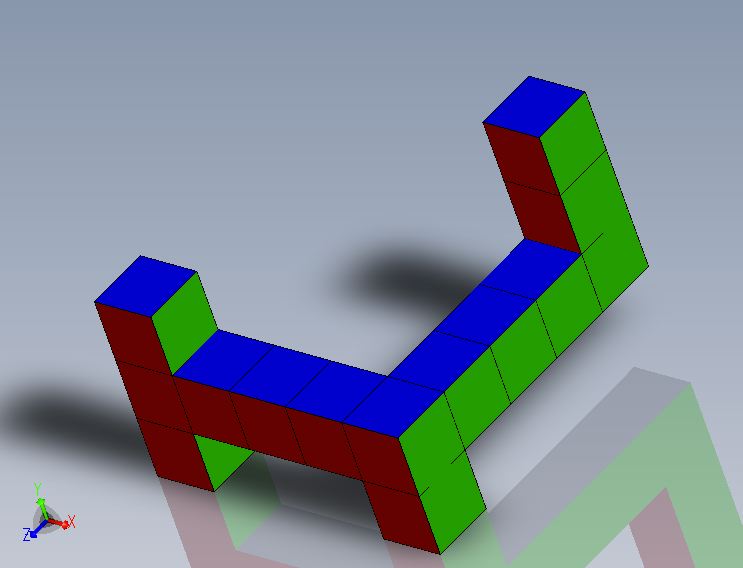
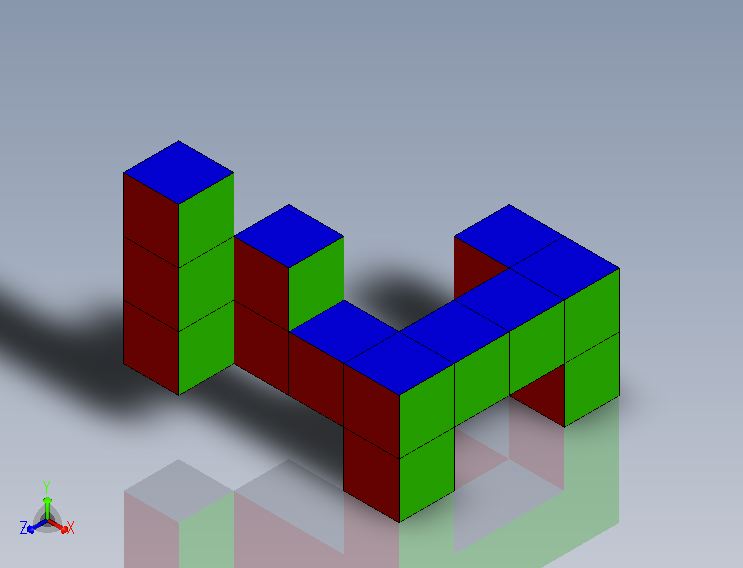
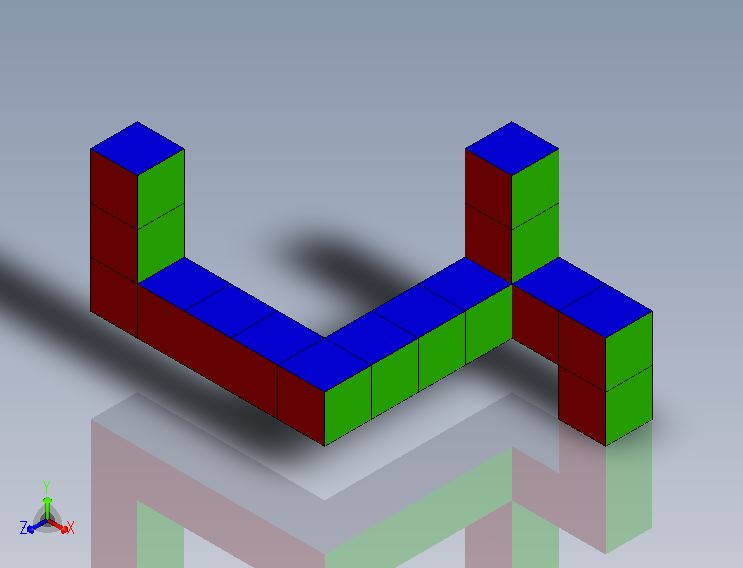
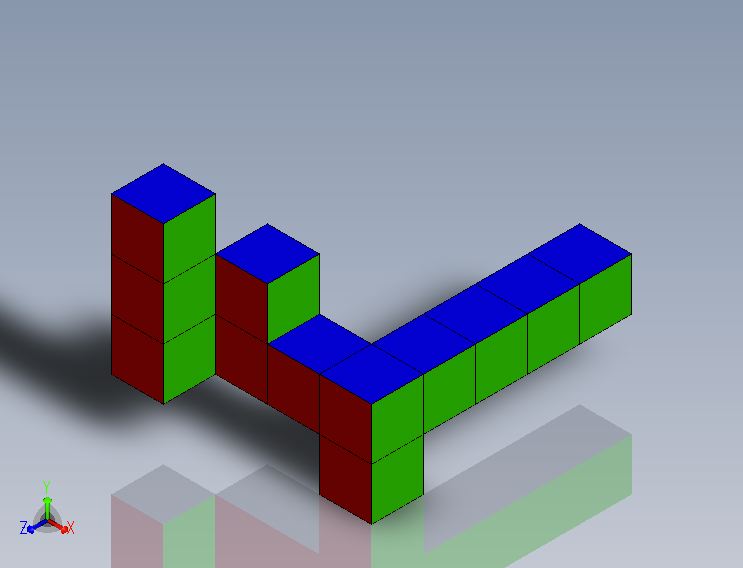
Models of Textbook Questions
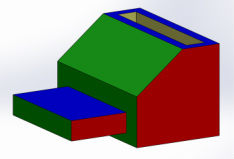
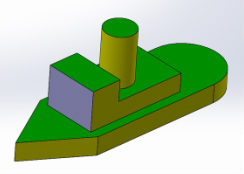
Models of Workbook Questions
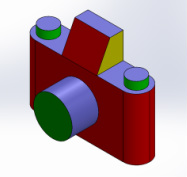
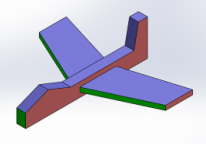
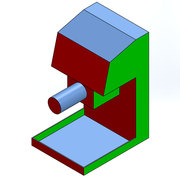
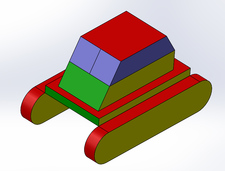
Click on the images below to download an eDrawings file of the object.
p22, exercise (a)
p23, exercise (d)
|
p22, exercise (b)
p23, exercise (e)
|
p22, exercise (c)
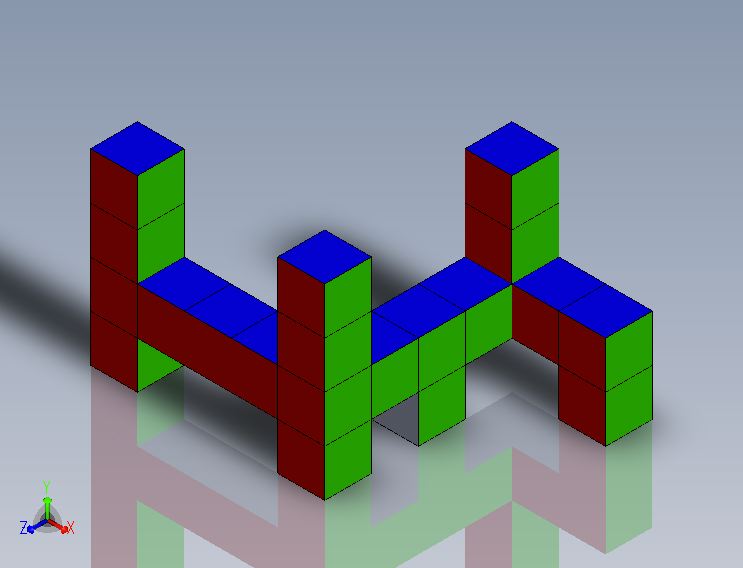
p23, exercise (f)
|
eDrawings PC & Mac
eDrawings is a free program that allows you to view and rotate 3D CAD files. All the 3D models below are also available as eDrawings. This allows you to explore the CAD models below at home if you don't have access to Solidworks. To download the eDrawings software, select the type of operating system below:
In all cases, just download the eDrawing viewer only. Not sure if your computer is 32 bit or 64 bit? Click here to find out.
In all cases, just download the eDrawing viewer only. Not sure if your computer is 32 bit or 64 bit? Click here to find out.
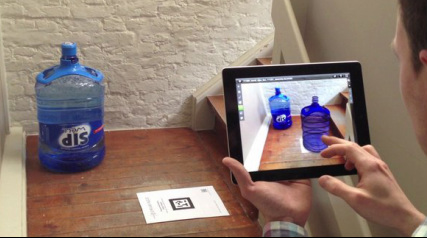
eDrawings iPad

|
There is also a very cool iPad version of eDrawings for €1.79. This allows you to open an eDrawing and view it normally or in an exploded view. I've found the iPad version nicer to use than the computer version.
There is a very cool Augmented Reality (AR) feature that projects the drawing on top of what the camera sees. Click here to buy on the app store. |
|
